
With fabric and textiles, I’m rarely put off by material being the ‘wrong’ color, provided I can dye it. Lately I’ve expanded this reasoning to include paper too. Fortunately for the sake of this project I’d already squirreled away a stock of paper, and the only preparation to be done was some therapeutic tearing and scrumpling.

Some paper (tough brown envelopes, cartridge, wallpaper lining, and watercolor) will tolerate heavy handed roughing up. Tissue, copier, newsprint and (my least fave) sugar paper just don’t have the same endurance, but will survive a lower level of scrunch.
The purpose of this is break up the surface, the scar lines offer a more porous surface for the dye to bleed through, and sometimes give a nice batik-y result.And sometimes they don’t. But we don’t care, we’re just here for shits and giggles.
Let the messy stage commence!

Plastic tray, bit of paper, swish with water, drips of dye & ink.

From here it’s a matter of layering (thinking ‘lasagna’, but without the food elements. Srsly, that would be a whole different result, and not what I’m after here at all)
Thicker acrylic based inks work best thinned right down with water,acrylic acts as an adhesive and if/when used thickly will gum the papers together into an unpickapartable cludge.

Some layers through I like to give the soaking papers a bitova squish with a roller (brayer). The dye will penetrate the paper fibres better, and slop out of the edges of the tray if you’re not careful.

Sometimes I pour off a bit of excess wet into a jar and reuse it further up the ‘lasagna’.

See the batik-y thing going on? Yay!

Onward n upward, paper, water, dye, swish, squish, paper, color, swish, etc

Disclaimer: no books were harmed in this production. Apart from this one. (Second hand and out of date when I got it, 15 year old book on web site building. ) Just saying. Books are my friends, and I never deliberately dismember friends, even in the name of art. Except for the very dead ones.

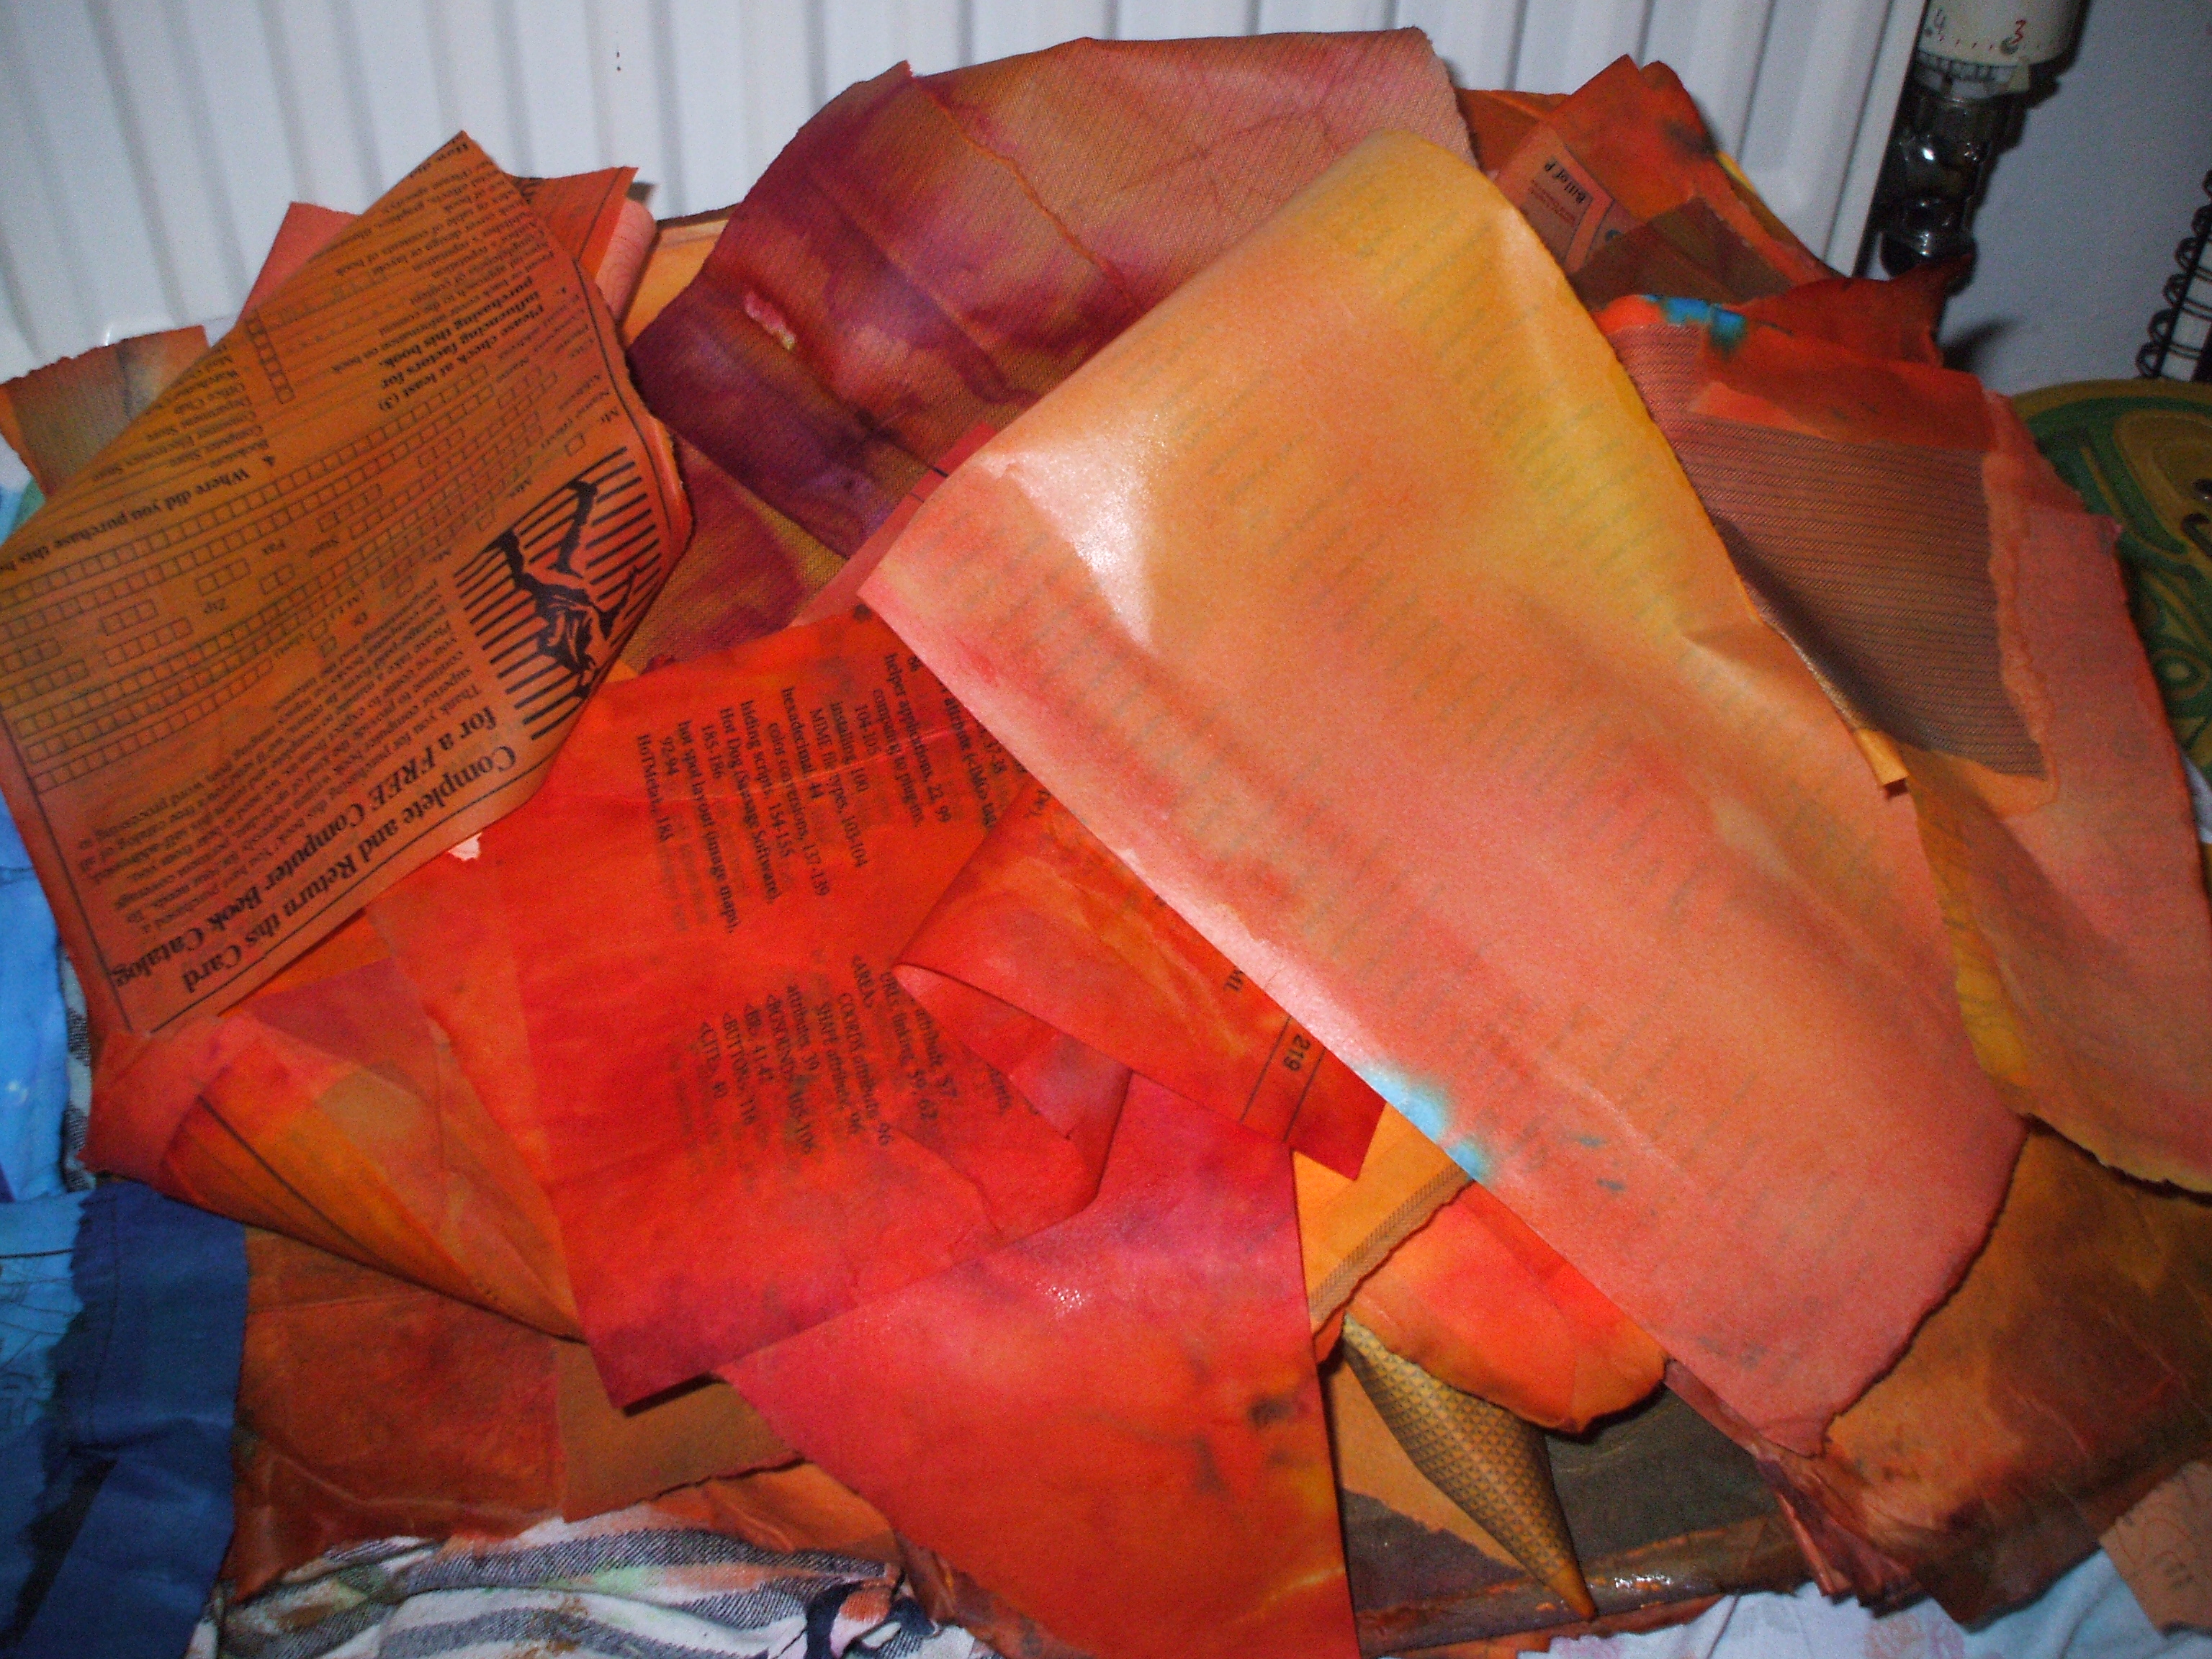
Some hours later, tray filled, excess juice drained, the soggy lump of color gets tipped out onto something porous (I used a selection of my finest knackered tea towels) and left to dry by the radiator. (If time and climate allow, sunshine will do the trick too)
Oh, n you might wanna be wearing gloves for this. Or, like me, you might only remember this once you have dyed fingers…


Oh what fun! You’ve inspired me to take a paper dyeing day! I’m so in love with paper of all textures and colors.
LikeLike
Yay – do it! I spent all day (on n off) yesterday doing this, i’ve just been sorting through the drying results. It is alchemy for colored paper! 😀
LikeLike
This is one of my favourite pastimes. Each session produces such individual results. Looking forward to seeing what you do with them.
LikeLike
oh me too!! undirected, unexpected, and so much (messy) fun! 🙂
LikeLike
fantastic technique – i’m going to have to try this … i’m always doing stuff with paper and fabric, and i also dismember books (yes, only the old, non-valuable, out-of-date ones) …=)
LikeLike
the pics of the process are art works in themselves…
LikeLike
that’s so cool to read! big thnx 😀
LikeLike
I love the way you describe this–it’s just bone-deep joy in your creativity. YES!
LikeLike
Yay! The fun is infectious! 😀
LikeLike
Thanks for visiting my blog…and I think I will add dyes to my heap of collage materials! Have fun being creative!
LikeLike
Dyes are wonderful – have you seen the work of Ruth Issett? Highly recommend her books, she is queen of color!
LikeLike
I love how you share the process — which is just as lovely to look at as the results!
LikeLike
aw thanks Molly, so glad you liked 🙂
LikeLike